Send email with Typescript & genezio email service
20 minutes read

Radu Dumitrescu
Mar 12, 2024
Share on:
In this blog, I’ll take you through a practical solution for building a backend that calls the genezio email service using TypeScript.
Whether you’re confirming user registrations or sending weekly newsletters, this guide will ensure you can implement a robust email solution with ease.
Following this tutorial, you will be able to:
- Send emails programmatically
- Configure an email service
- Deploy your project on the cloud
Prerequisites
If you don’t already have them, you’ll need to install the following tools:
Note: I recommend you use nvm to manage NodeJs and npm versions. After installing nvm, you can easily get any node version by running nvm install <node_version>.
Content
- Prerequisites
- Getting Started
- Set up the email service
- Set up the env
- Install the Dependencies
- Set up your backend
- Test your app locally
- Deploy your application
- Conclusion
Getting Started
First, you’ll need to create a new project.
To get started with a template, install genezio CLI using npm. You will also need to login to the genezio cloud. Later on, genezio comes in handy to deploy and host your web applications in the cloud.
npm install -g genezio
genezio login
After installing genezio, you can create a new genezio Node.js project by running the following command:
genezio create backend --backend=ts --name=email-sender --region=us-east-1
cd ./email-sender
genezio deploy
The create command will create a new dummy backend project with everything set up for you to start focusing on your business logic, without having to write the boilerplate.
The genezio create command can be run as above or it can be run as a wizard through which you can configure your new project. More information can be found
here
.
We deploy our project to the cloud using genezio, and then gain access to the email service.
Set up the email service
Navigate to the
genezio dashboard
, locate your project, and open its project page. Then, head to the services section on the sidebar, look for Email Service and click on it.
After you are redirected to the email service page, press the Install button.
Now your page should look like this one:
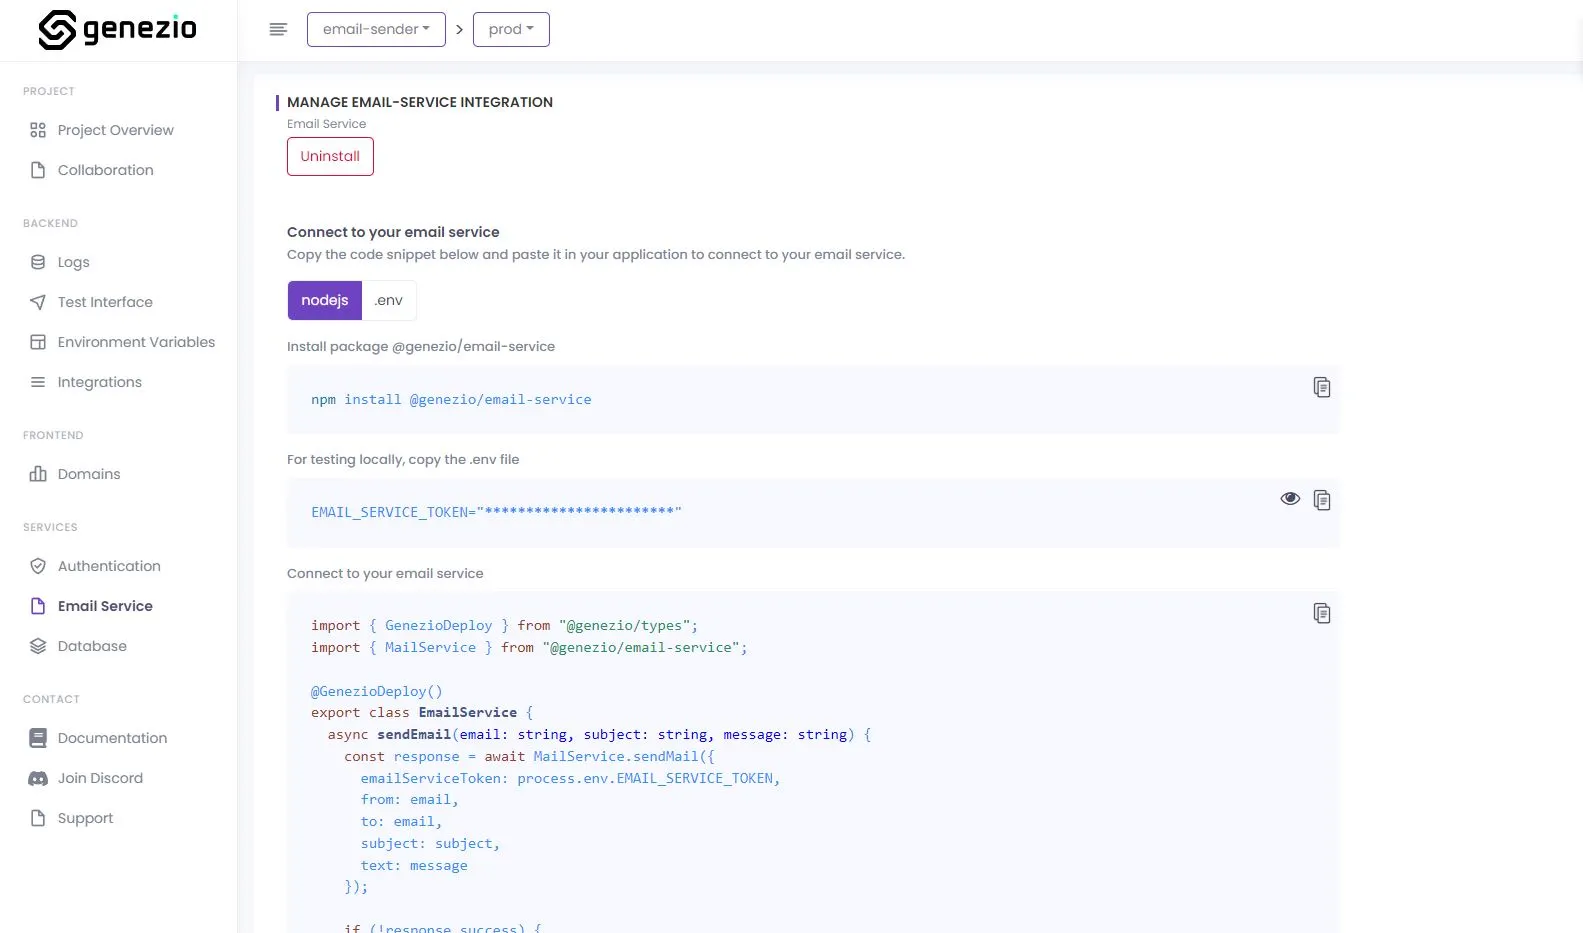
Set up the env
First, you need to create a .env file with the token, which you can copy from the dashboard page you were previously on.
.env

EMAIL_SERVICE_TOKEN=<your_token>
Install the Dependencies
For your backend you will need to install the @genezio/email-service package:
npm install @genezio/email-service
We’ll utilize the @genezio/email-service to access the email service, using a token we’ll obtain later.
Set up your backend
Now let’s create the server-side service. We will replace the existing code in the file backend.ts.
We will use TypeScript for this tutorial, but you can also use JavaScript and Go (experimental).
backend.ts

import { GenezioDeploy } from "@genezio/types";
import { MailService } from "@genezio/email-service";

@GenezioDeploy()
export class EmailSender {
  async sendEmail(email: string, subject: string, message: string) {
    const response = await MailService.sendMail({
      emailServiceToken: process.env.EMAIL_SERVICE_TOKEN!,
      to: email,
      subject: subject,
      text: message,
    });

    if (!response.success) {
      return response.errorMessage;
    }

    return "success";
  }
}
First, we import the GenezioDeploy decorator. It will be added to the EmailSender class to signal to genezio that the class needs to be deployed.
The method sendEmail takes params email, subject, and message and calls the MailService.sendMail method to send the email with the genezio email service.
Note: For a complete API description of MailService.sendMail, check the types in your IDE.
Test your app locally
Genezio provides a local test environment for you to simulate the cloud conditions on your local machine.
Simply run the following command in your project root directory:
genezio local
Now you can test your method using the genezio test interface .
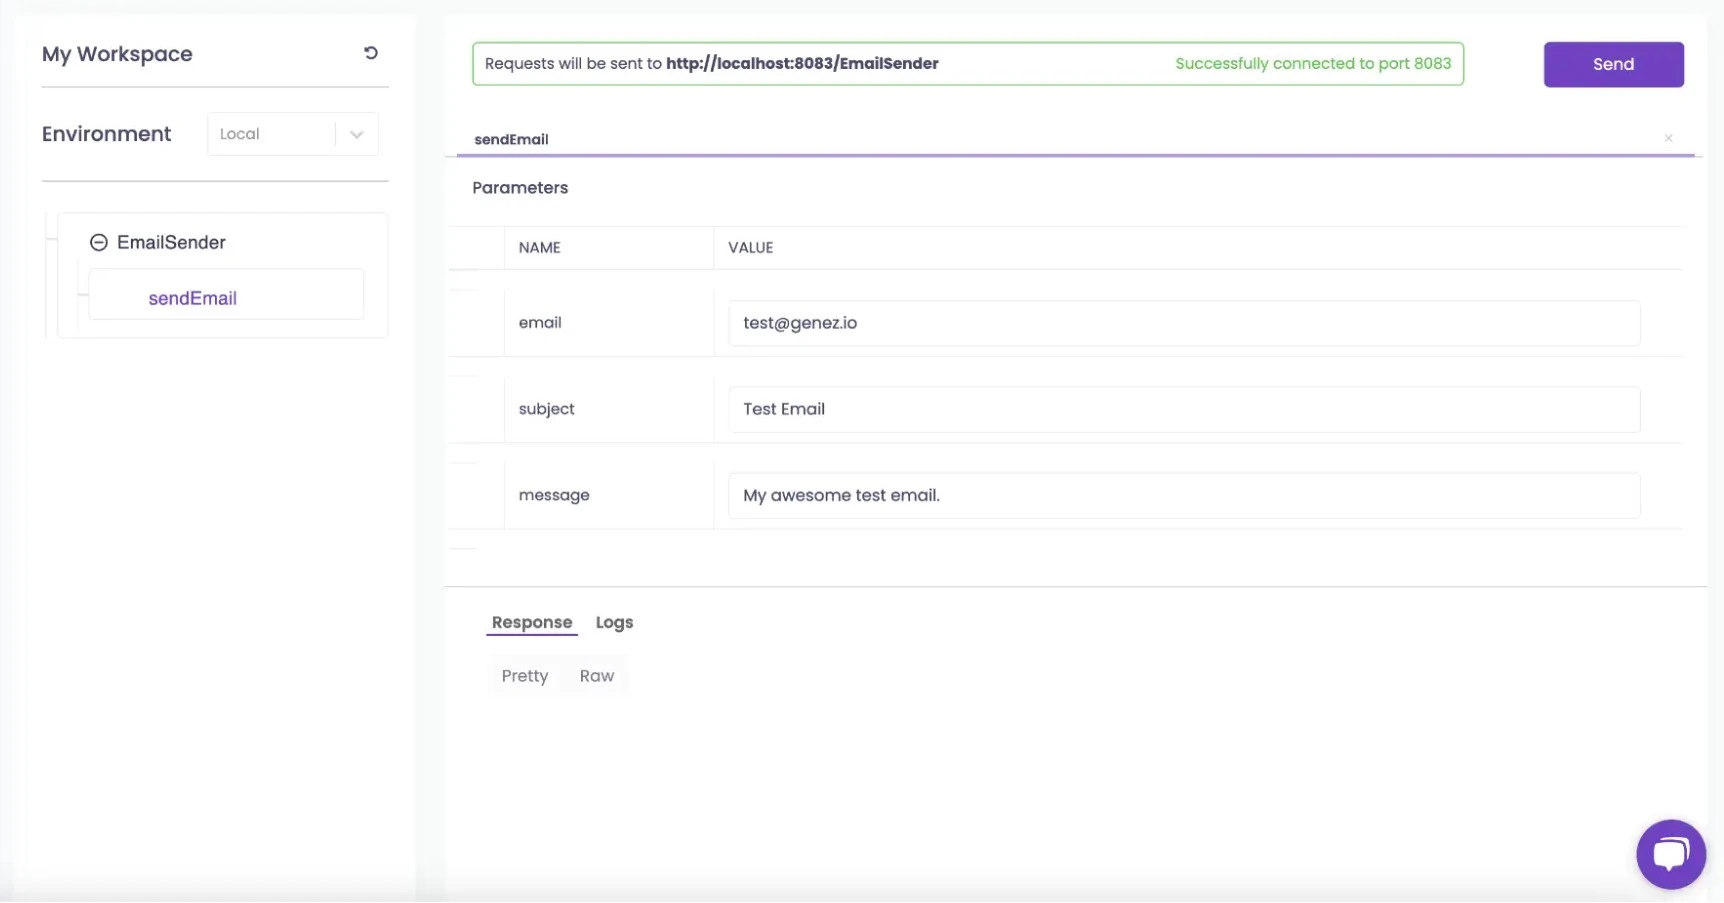
After everything goes well, you can deploy your app to the genezio cloud.
Deploy your application
Now we have everything set up and it’s time to deploy the application to the genezio cloud with only one simple command.
Run this command in the root folder on your project:
genezio deploy
This will deploy the project to the cloud and make it accessible on the internet. You can continue to manage, test, update and monitor your project from the genezio dashboard .
Create more complex emails
Prettify your emails with HTML
async sendEmail(email: string, subject: string, message: string) {
    const response = await MailService.sendMail({
      emailServiceToken: process.env.EMAIL_SERVICE_TOKEN!,
      to: email,
      subject: subject,
      html: `<html lang="en">
        <head><style>h1{background-color:#6f42c1;color:#fff;margin:0;padding:10px;text-align:center}</style></head>
        <body>
          <div class="e"><h1>${message}</h1>
        </body>
      </html>`,
    });

    if (!response.success) {
      return response.errorMessage;
    }

    return "success";
  }
You can add any HTML template static or dynamic you might want.
Add attachments to the email
async sendEmail(email: string, subject: string, message: string) {
    const response = await MailService.sendMail({
      emailServiceToken: process.env.EMAIL_SERVICE_TOKEN!,
      to: email,
      subject: subject,
      text: message,
      attachments: [
        {
          filename: "attachment.txt",
          content: "Hello world attachment!",
        },
      ],
    });

    if (!response.success) {
      return response.errorMessage;
    }

    return "success";
  }
Attachments option in the message object that contains an array of attachment objects.
Attachments can be added as many as you want.
Send the email with a cron.
A use case for this can be sending a newsletter to your customer at a specific time of the day every day. More information about how to set up cron can be found in this tutorial .
Conclusion
In conclusion, after following the steps outlined in this guide to integrate the genezio Email Service into your web application, you will enhance your project’s reliability and functionality, ensuring a smooth and efficient communication flow.
I hope you enjoyed this tutorial and I encourage you to check out our other tutorials for more tips and tricks on improving your software engineering skills. 🥷 💻
Also, I invite you to check your examples from GitHub .
Start leveraging the power of Genezio for faster development and deployment of your applications.
Subscribe to our newsletter
Genezio is a serverless platform for building full-stack web and mobile applications in a scalable and cost-efficient way.
Related articles


More from Tutorials
How to Use Genezio with Express for Easy and Error-Free API Management
Bogdan Vlad
Apr 10, 2024